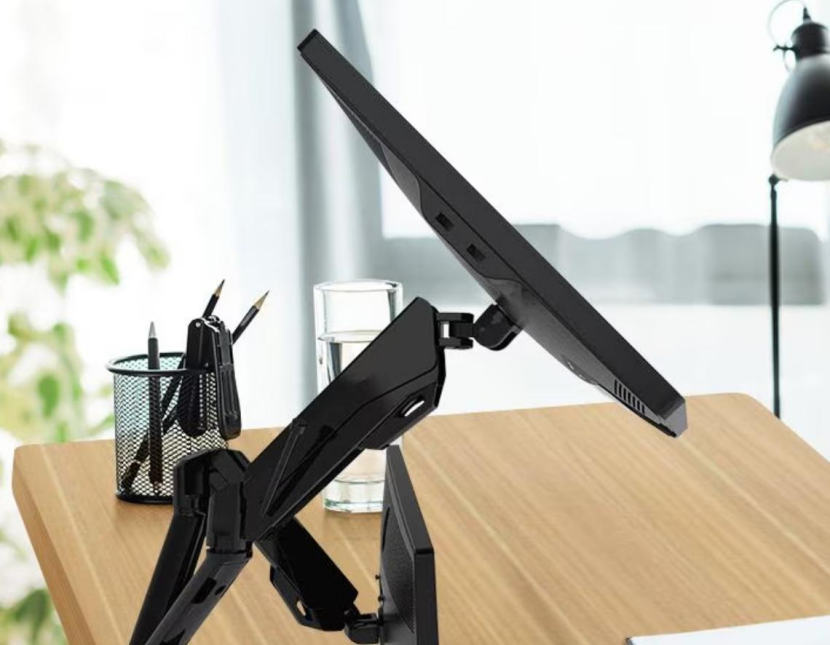
How to Install and Adjust a Monitor Arm for Optimal Viewing Comfort
Installing and adjusting a monitor arm correctly is essential for achieving optimal viewing comfort, reducing strain on your neck, shoulders, and eyes, and enhancing productivity in your workspace. Proper installation and adjustment of the monitor arm ensure that your monitor is positioned at the right height, distance, and angle to promote ergonomic comfort and efficiency. Below are detailed instructions on how to install and adjust a monitor arm for optimal viewing comfort.
Tips to Install and Adjust a Monitor Arm
1. Pre-Installation Preparation
Before starting the installation process, gather the necessary tools, including a screwdriver, wrench, and any additional hardware provided with the monitor arm kit. Clear your workspace of any clutter or obstructions to ensure a smooth and efficient installation process. Make sure there is enough space to maneuver the monitor arm and adjust the monitor position.
2. Mounting the Monitor Arm
Identify a suitable mounting point on your desk or wall where the monitor arm will be installed. Ensure that the mounting point is stable, secure, and can support the weight of the monitor and arm. Attach the mounting bracket of the monitor arm to the selected mounting point using screws or bolts. Make sure the bracket is securely fastened to prevent wobbling or instability. Monitor Arm to the mounting bracket according to the manufacturer’s instructions. Use the provided hardware to secure the arm in place, ensuring it is stable and properly aligned.

3. Adjusting Monitor Height
Place your monitor onto the arm mount and adjust the height of the monitor to eye level. The top of the monitor screen should be at or slightly below eye level to reduce neck strain and promote a comfortable viewing angle. Some monitor arms come with tension adjustment features that allow you to modify the resistance when moving the monitor up or down. Adjust the tension to a level that allows for smooth movement while providing enough support for the monitor.
4. Adjusting Monitor Angle
Tilt the monitor screen slightly backward or forward to reduce glare and improve visibility. Adjust the tilt angle based on your seating position and lighting conditions to minimize reflections and enhance screen clarity. If your monitor arm allows for swivel adjustments, rotate the monitor left or right to optimize viewing angles and accommodate different tasks or viewing preferences. Ensure that the monitor is easily swivelled without strain or resistance.
5. Adjusting Monitor Distance
Position the monitor at an arm’s length distance from your eyes to reduce eye strain and maintain proper posture. Adjust the monitor’s distance to ensure that the screen is within comfortable reach and does not require leaning or stretching to view content. Some monitor arms offer depth adjustment options that allow you to move the monitor closer or farther away from your seated position. Adjust the depth to achieve an ergonomic viewing distance that promotes comfort and reduces eye fatigue.
6. Cable Management
After adjusting the monitor arm, organize and secure cables to prevent tangling, clutter, or interference with the monitor’s movement. Use cable clips, ties, or channels to route cables neatly along the arm or desk for a clean and organized workspace. Position cables in a way that allows for easy access to ports and connectors on the monitor without obstructing movement or causing strain on the cables. Ensure that cables are securely attached and do not impede the monitor arm’s operation.

7. Test and Fine-Tune Adjustments
Test the movement of the monitor arm by adjusting the height, angle, and distance of the monitor to ensure smooth operation and optimal viewing comfort. Make any necessary adjustments to the monitor position to achieve the desired ergonomic setup. Fine-tune the monitor arm settings based on your comfort preferences, work habits, and viewing requirements. Experiment with different positions, angles, and heights to find the optimal setup that promotes productivity and reduces discomfort.
Conclusion
By following these instructions on how to install and adjust a monitor arm for optimal viewing comfort, you can create a ergonomic workspace that promotes productivity, reduces strain, and enhances your overall work experience. Proper installation and adjustment of the monitor arm ensure that your monitor is positioned correctly for comfortable viewing, allowing you to work efficiently and comfortably for extended periods.


