How to Download Voice Memos from iPhone to PC
Introduction
Transferring voice memos from an iPhone to a PC can seem daunting, but it’s straightforward once you know the right methods. Whether you need to archive important recordings or free up space on your iPhone, there are multiple methods to achieve this goal. In this article, we will guide you through four effective methods: using iCloud, iTunes, third-party apps, and email. Each method has its advantages, so you can choose the one that best fits your needs.

Method 1: Using iCloud
Using iCloud is one of the simplest ways to transfer voice memos from your iPhone to your PC. It is convenient, especially if you already use iCloud for other backups. Here’s how to do it:
Setting Up iCloud on iPhone
- Open Settings: Go to the ‘Settings’ app on your iPhone.
- Tap on Your Name: At the top of the settings menu, tap your name to access iCloud settings.
- Select iCloud: Scroll down and tap on ‘iCloud.
Enabling Voice Memos for iCloud
- Toggle Voice Memos: Find ‘Voice Memos’ in the list of apps and make sure the toggle switch is turned on. This will sync your voice memos to your iCloud account.
Downloading Voice Memos from iCloud to PC
- Access iCloud Drive on PC: Open a web browser on your PC and go to iCloud.com.
- Sign In: Log in with your Apple ID and password.
- Open Voice Memos: Click on the ‘Voice Memos’ app. You will see a list of all your voice memos.
- Download Memos: Select the voice memos you want to download and click the download button.
By following these steps, you can easily transfer voice memos from your iPhone to your PC using iCloud.
Method 2: Using iTunes
iTunes is another reliable method to download voice memos to your PC. This method is highly effective if you are used to syncing your iPhone with iTunes.
Installing iTunes on PC
- Download iTunes: Visit the official Apple website to download and install the latest version of iTunes for your PC.
- Install and Set Up: Follow the installation instructions and launch iTunes once the setup is complete.
Connecting iPhone to PC
- Connect with USB Cable: Use a USB cable to connect your iPhone to your PC.
- Trust the Computer: When prompted, tap ‘Trust’ on your iPhone to allow the connection.
Syncing Voice Memos with iTunes
- Open iTunes: Launch iTunes and select your iPhone from the device icon in the top left corner.
- Select Music: Click on ‘Music’ in the left sidebar.
- Sync Voice Memos: Ensure the option ‘Include voice memos’ is checked. Then click ‘Apply’ or ‘Sync.
Locating Downloaded Voice Memos on PC
- Find Folder: Navigate to the folder where iTunes saves synced music which is usually located in ‘/Users/YourName/Music/iTunes/iTunes Media/Voice Memos’.
- Access Files: Open the Voice Memos folder to find and play your transferred voice recordings.
Transferring voice memos using iTunes is efficient and straightforward, especially for regular iTunes users.

Method 3: Using Third-Party Apps
If you prefer an alternative method, several third-party apps can simplify this process. These apps offer user-friendly interfaces and additional features.
Overview of Reliable Third-Party Apps
Some notable third-party apps for transferring voice memos include:
- iExplorer: Allows you to access and transfer various files from your iPhone to your PC.
- AnyTrans: Provides a comprehensive solution for managing and transferring iOS files.
- Dr.Fone: Offers various phone management tools, including data transfer.
Step-by-Step Instructions for Transfer
Let’s use iExplorer as an example:
- Download iExplorer: Visit the official iExplorer website and download the software.
- Install the Software: Follow the installation prompts to set up iExplorer on your PC.
- Connect iPhone: Use a USB cable to connect your iPhone to the PC.
- Launch iExplorer: Open the application and select your iPhone from the device list.
- Access Voice Memos: Navigate to ‘Media Library’ > ‘Voice Memos’ in iExplorer.
- Transfer Files: Select the voice memos you wish to transfer and click ‘Export’ to copy them to your PC.
Using third-party apps offers additional flexibility and capabilities when transferring voice memos.

Method 4: Using Email
For quick transfers, sending voice memos via email is a convenient option.
Recording and Saving Voice Memos on iPhone
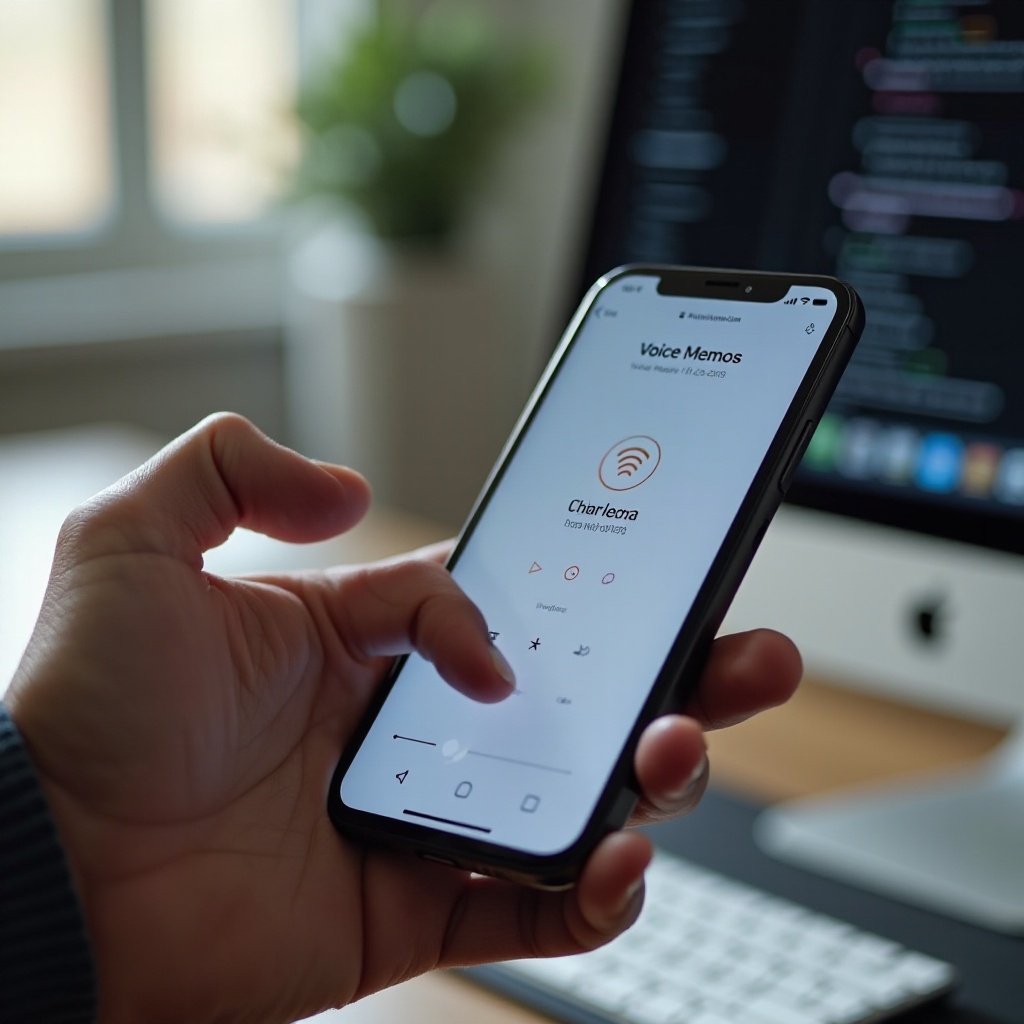
- Open Voice Memos App: Record or locate the memo you wish to send.
- Save Recording: Ensure the recording is saved and labeled clearly.
Sending Voice Memos via Email
- Share Voice Memo: Tap the share icon on the recorded memo.
- Select Mail: Choose the Mail app from the share options.
- Send Email: Enter your email address and send the voice memo to yourself.
Downloading Voice Memos from Email to PC
- Open Email: Access your email account on your PC.
- Download Attachment: Find the email with your voice memo and download the attachment to your PC.
Using email is quick and easy for transferring individual voice memos without additional software.
Conclusion
Although transferring voice memos from an iPhone to a PC might seem complex at first, multiple easy methods are available. Whether you choose to use iCloud, iTunes, third-party apps, or email, each method provides a straightforward way to ensure your important recordings are securely transferred and accessible on your computer.
Frequently Asked Questions
How do I ensure my voice memos are backed up?
Make sure voice memos are included in your regular iCloud or iTunes backups. It’s also a good idea to periodically transfer them to your PC.
What should I do if my iPhone is not detected by iTunes?
If your iPhone is not detected by iTunes, check that you have the latest version of iTunes installed, try different USB cables, and ensure your iPhone is unlocked and trusts the computer.
Are there any other software options for transferring voice memos?
Yes, several software options are available, including iMazing, CopyTrans, and Tenorshare iCareFone. These tools offer additional features and can simplify the transfer process.


